Introduction
This guide will walk you through the process of establishing a tunnel between EvoShield and your server or network, and then configuring EvoShield to protect your network, server and applications from DDoS attacks using the EvoShield control panel.
What is EvoShield Remote DDoS Protection and how does it work?
EvoShield Remote DDoS Protection is an application specific DDoS protection system designed to provide fully comprehensive protection from all forms of DDoS attacks which may target your server. As a remote DDoS protection solution, EvoShield enables you to protect your existing server and applications without moving to a new hosting provider.
Traffic which is sent to your EvoShield public IPs is inspected continuously and in real time. If your server is attacked, EvoShield will mitigate the malicious traffic before forwarding only the clean traffic from your users to your server. This process is accomplished with minimal to no latency overhead.
This ensures that your server and applications remain available and continue to perform well in the event of DDoS attack attempts.
Setup and Configuration
After ordering your remote DDOS protection service, you can login to the control panel and navigate to the Anti-DDoS area. Here, click on the EvoShield service that you would like to configure.
Step 1 - Create a Tunnel
After selecting the EvoShield service that you would like to configure, the control panel will display the tunnel management area.

Click on the button highlighted above to setup your first tunnel and the Create Your Tunnel dialogue will be displayed:

Create Tunnel Options Explained
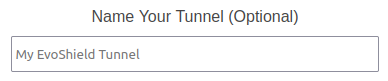
You can give your tunnel an optional name to help you to identify the tunnel later. For example, you could name the tunnel “USA Game 1" to enable you to quickly determine which machine or IP address the tunnel is assigned to.
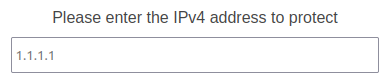
Next, enter the IPv4 address that clean traffic should be forwarded to. This is the IP address that your server and applications are currently available on.
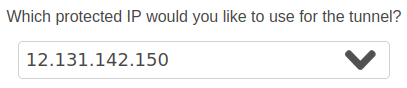
You can select the EvoShield public IP (protected IP) that your server will be available on, from the list of Evolution Host IPs currently assigned to your EvoShield service.
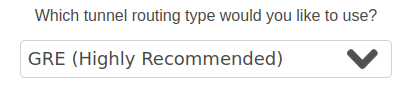
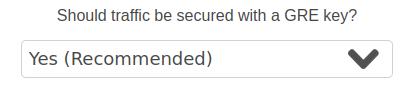
There are currently two options available for the tunnel type; NAT (Network Address Translation) and GRE (Generic Routing Encapsulation). We highly recommend using GRE to ensure that the connecting IP address of your users remains visible to your applications. The NAT method is only recommended for environments which are not compatible with GRE.
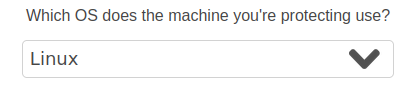
Select between Linux, Windows, BSD and Other as the operating system of the back-end server depending upon the OS running on your server. Other should be selected if the tunnel is for use directly on a router or other embedded systems.
The final tunnel creation option indicates whether or not all of the server's traffic should be routed through EvoShield. Enabling this option ensures that all inbound and inbound traffic is routed via EvoShield, preventing your server's real/back-end IP from being leaked. If your server is running Windows or Linux, the DDoS Protection Router (Windows) or EvoShield Tunnel Manager (Linux) can automatically configure your server to use the tunnel as your server's default gateway. If this option is not enabled, then your server will continue to send outbound traffic (such as DNS lookups and HTTP requests) from its current IP and your applications will be available on the current IP as well as the EvoShield public IP, unless your application and/or firewall configuration prevents this.

After clicking the Create button, the EvoShield tunnel will be setup on our systems and additional information will be displayed to you once the tunnel has been created. This will include a list of IP addresses which you can optionally whitelist in any available hardware or network firewalls that your server may include.
It can take up to a few minutes for the changes to propagate throughout our network. After a few minutes, the tunnel will be ready to receive traffic from users in all regions.
If you selected Other as the tunnel OS and you have opted for the GRE tunnel type, then the information required to setup the GRE tunnel on your server or device will be displayed now.
The information displayed at this stage can be viewed again by clicking the Tunnel Info icon at any time.
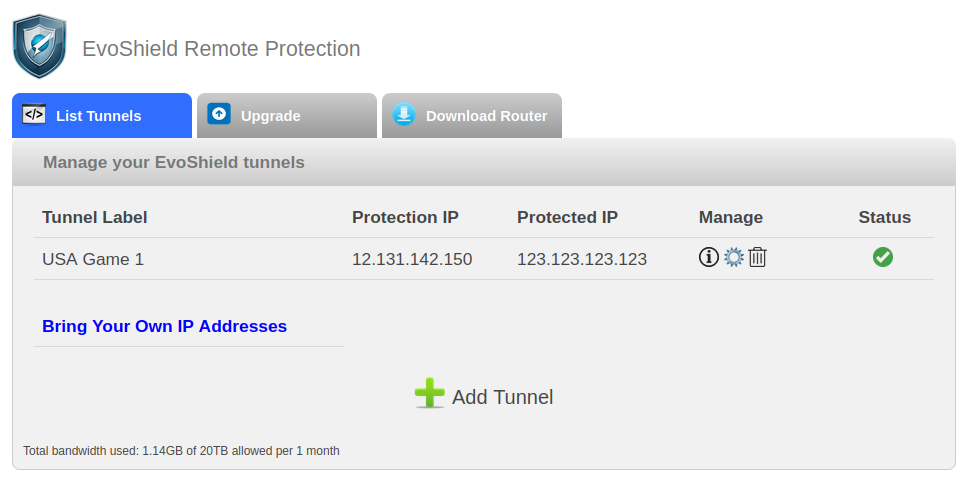
Now that the tunnel has been created, information about the tunnel will be displayed in the List Tunnels tab and the option to download the relevant software for your server will be available if you have created a tunnel for a Windows or Linux server.
Step 2 - Setting up the tunnel on your server
If your server is running Windows or Linux, you can now download the DDoS Protection Router application for Windows or the EvoShield Tunnel Manager application for Linux.
Click the “Download Router” button as shown above and select Linux or Windows as applicable.
You can then run the resulting command on your server (Linux) or run the Evolution Host DDoS Protection Router Installer on your server (Windows).
The application will start automatically once the installation completes and any tunnels which you have setup for the server will be setup instantly. Any additional tunnels which are created will instantly and automatically be configured on your server by the DDoS Protection Router or EvoShield Tunnel Manager application when the tunnel is created via the control panel.
The application will be managed by systemd on Linux. On Windows, please leave the application running at all times as it is responsible for receiving clean traffic from the mitigation endpoints.
If your server or device is not running Linux or Windows and you are setting up a GRE tunnel, you may use the tunnel information which was provided in the previous step to manually setup the tunnel.
Step 3 - Setup EvoShield profiles to protect your server
You can now click on the tunnel's Manage Rules icon or click the table row representing your tunnel to access the EvoShield Profile Management area.
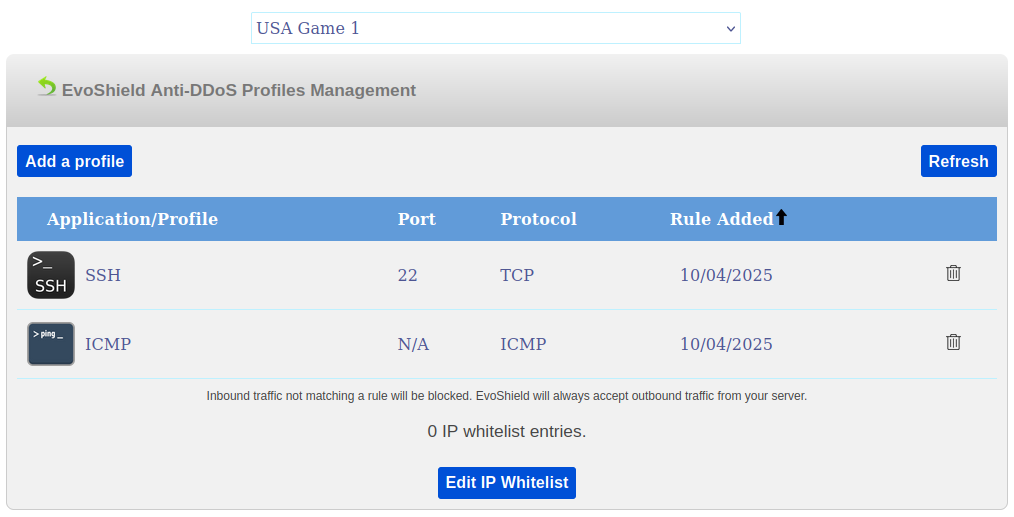
A couple of default EvoShield mitigation profiles will be setup depending upon the OS which you have selected for the tunnel.
All other inbound traffic that does not match a rule will be blocked. All outbound traffic originating from your server as well as the inbound response to this traffic will always be accepted by EvoShield.
To ensure that your applications are accessible on the EvoShield public IP, and to ensure that only clean traffic from the users is able to reach your server, you should now setup the appropriate EvoShield profile for each of your applications/ports.
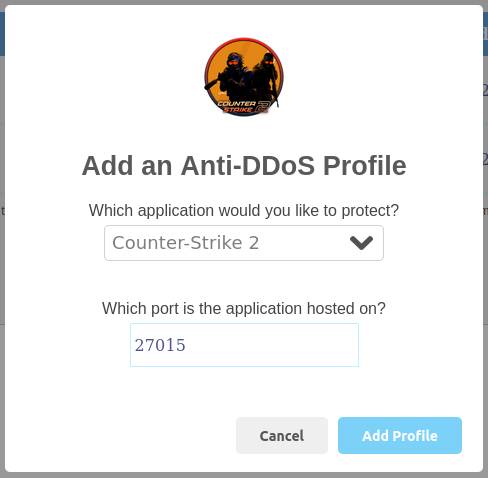
For example, if you are running a Counter-Strike 2 game server on UDP port 27015, you can click Add a profile and select the corresponding profile and port:
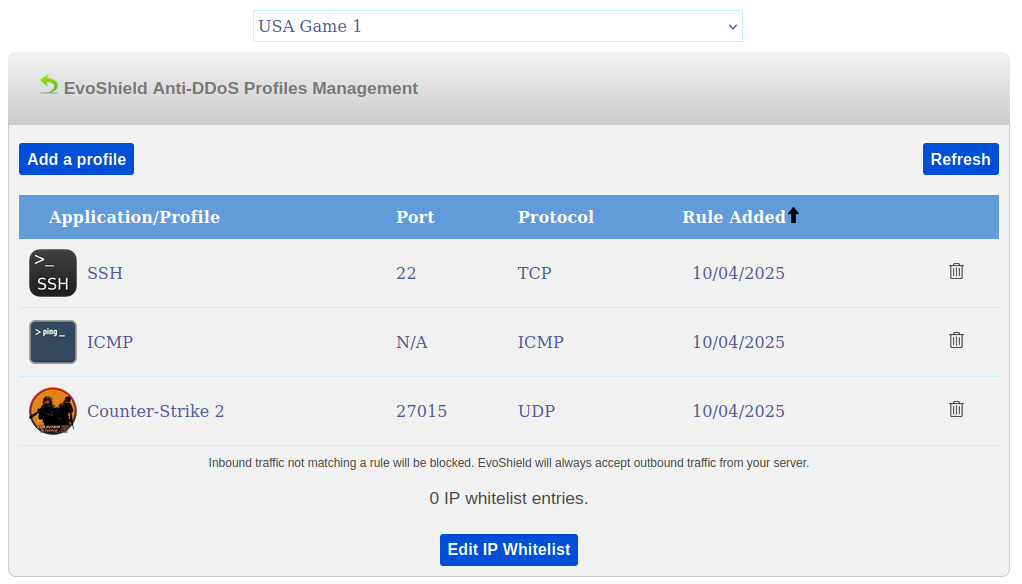
Now that the Counter-Strike 2 profile has been added to UDP port 27015, your players will be able to connect to the Counter-Strike 2 server on the EvoShield public IP of the tunnel.
Please refer to the following resources for more in-depth information about EvoShield mitigation profiles and other aspects of the EvoShield DDoS Protection suite:
Get EvoShield Remote DDoS Protection